Painting realistic skin is one of the most important and challenging skills in digital art. It requires a strong understanding of color, lighting, and blending techniques. Beginners often struggle with making skin look natural, but with the right steps, it becomes much easier.
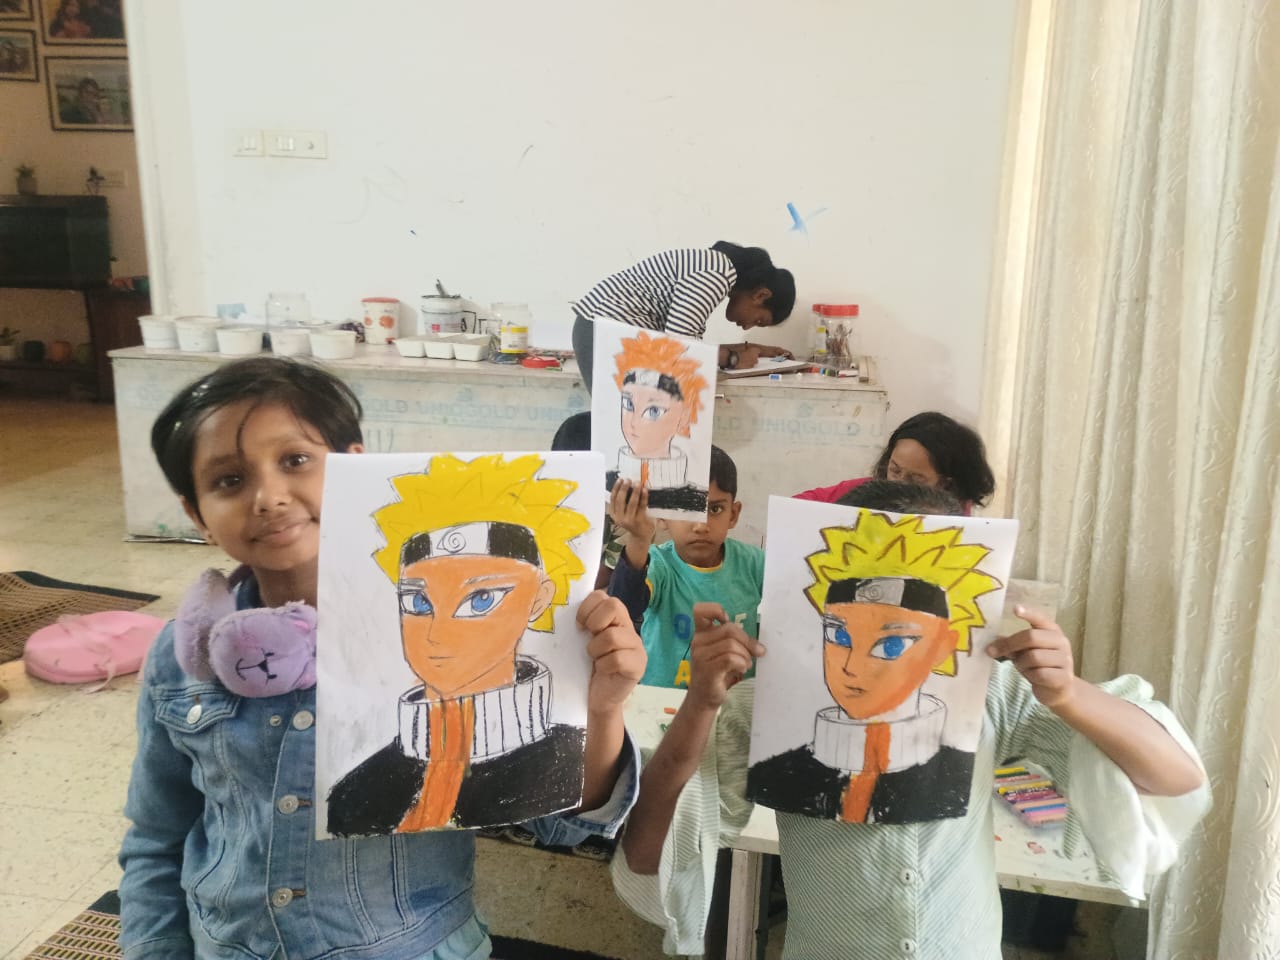
At Ankona School of Art, we teach skin rendering in a structured way through our best online class, helping students achieve professional results.
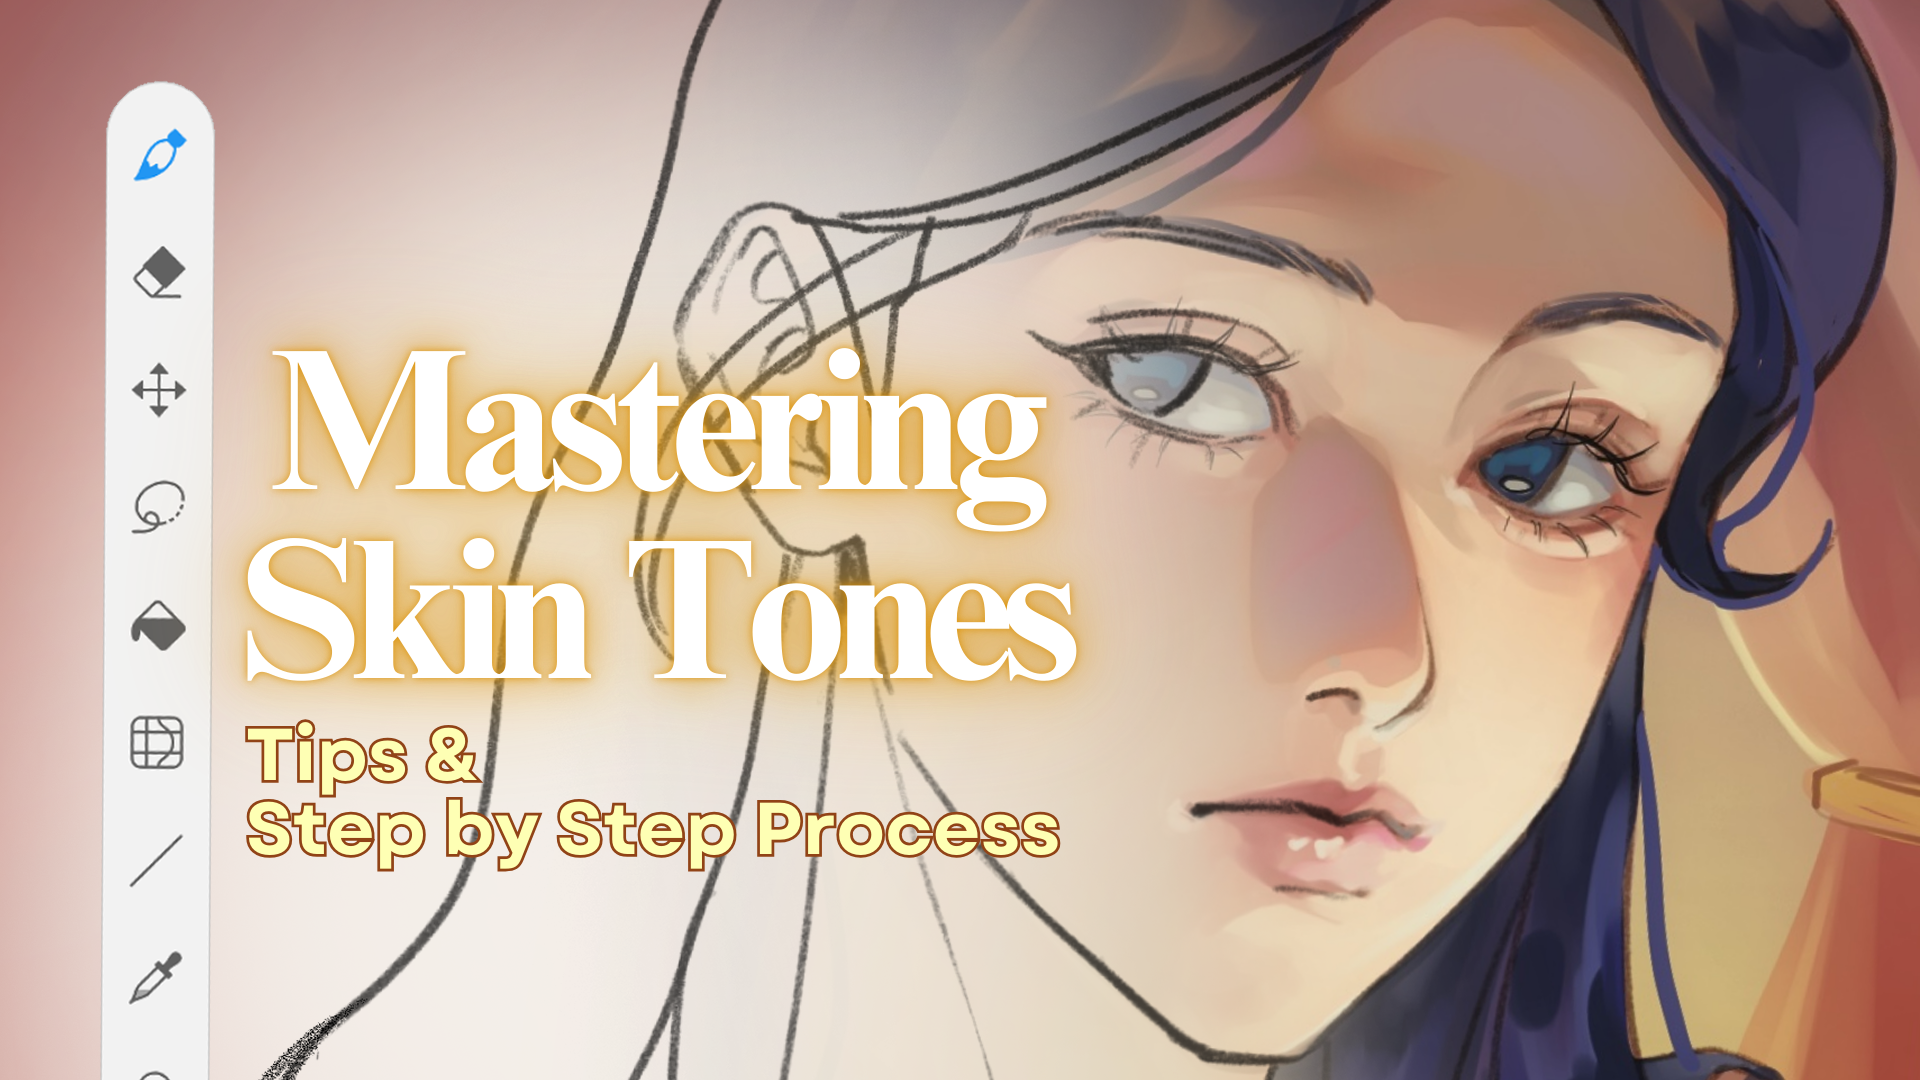
Understanding Skin Tones
Skin is not just one color. It includes:
Base tone
Warm and cool variations
Subtle color shifts (red, yellow, blue)
Observing real references is essential to understand these variations.
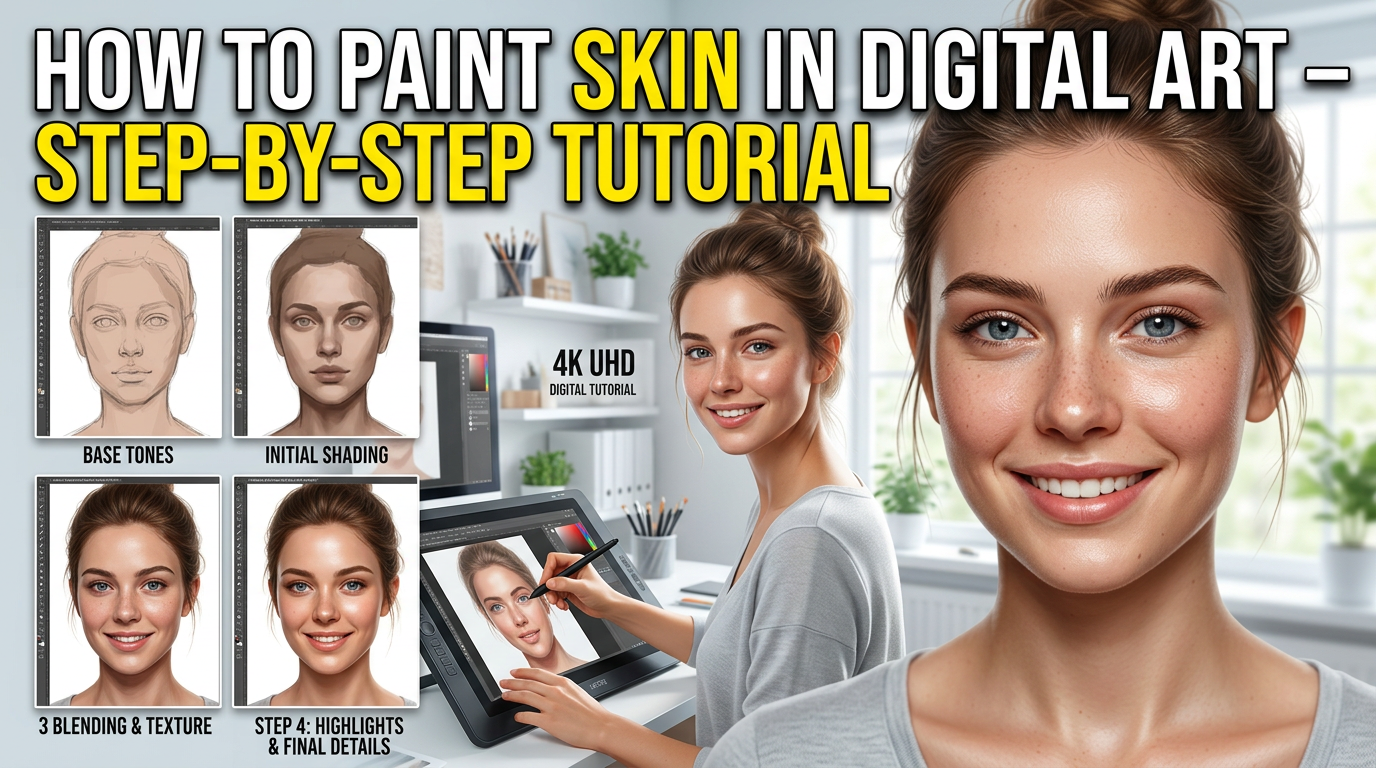
Step-by-Step Process
1️⃣ Start with Base Color
Fill the face with a flat skin tone. Avoid too light or too dark colors initially.
2️⃣ Add Shadows
Use a slightly darker and cooler tone to add shadows under the nose, chin, and cheekbones.
3️⃣ Add Highlights
Apply lighter tones on areas where light hits, such as forehead, nose, and cheeks.
4️⃣ Blend Smoothly
Use soft brushes to blend colors. Avoid over-blending.
5️⃣ Add Details
Include subtle color variations, pores, and texture to make skin realistic.
Common Mistakes
Using only one color
Over-blending (loses realism)
Ignoring light source
Not using references
At Ankona School of Art, we correct these mistakes through guided practice.
Why Learn with Ankona School of Art?
✔ Step-by-step guidance
✔ Real-time feedback
✔ Professional techniques
✔ Best online class for beginners