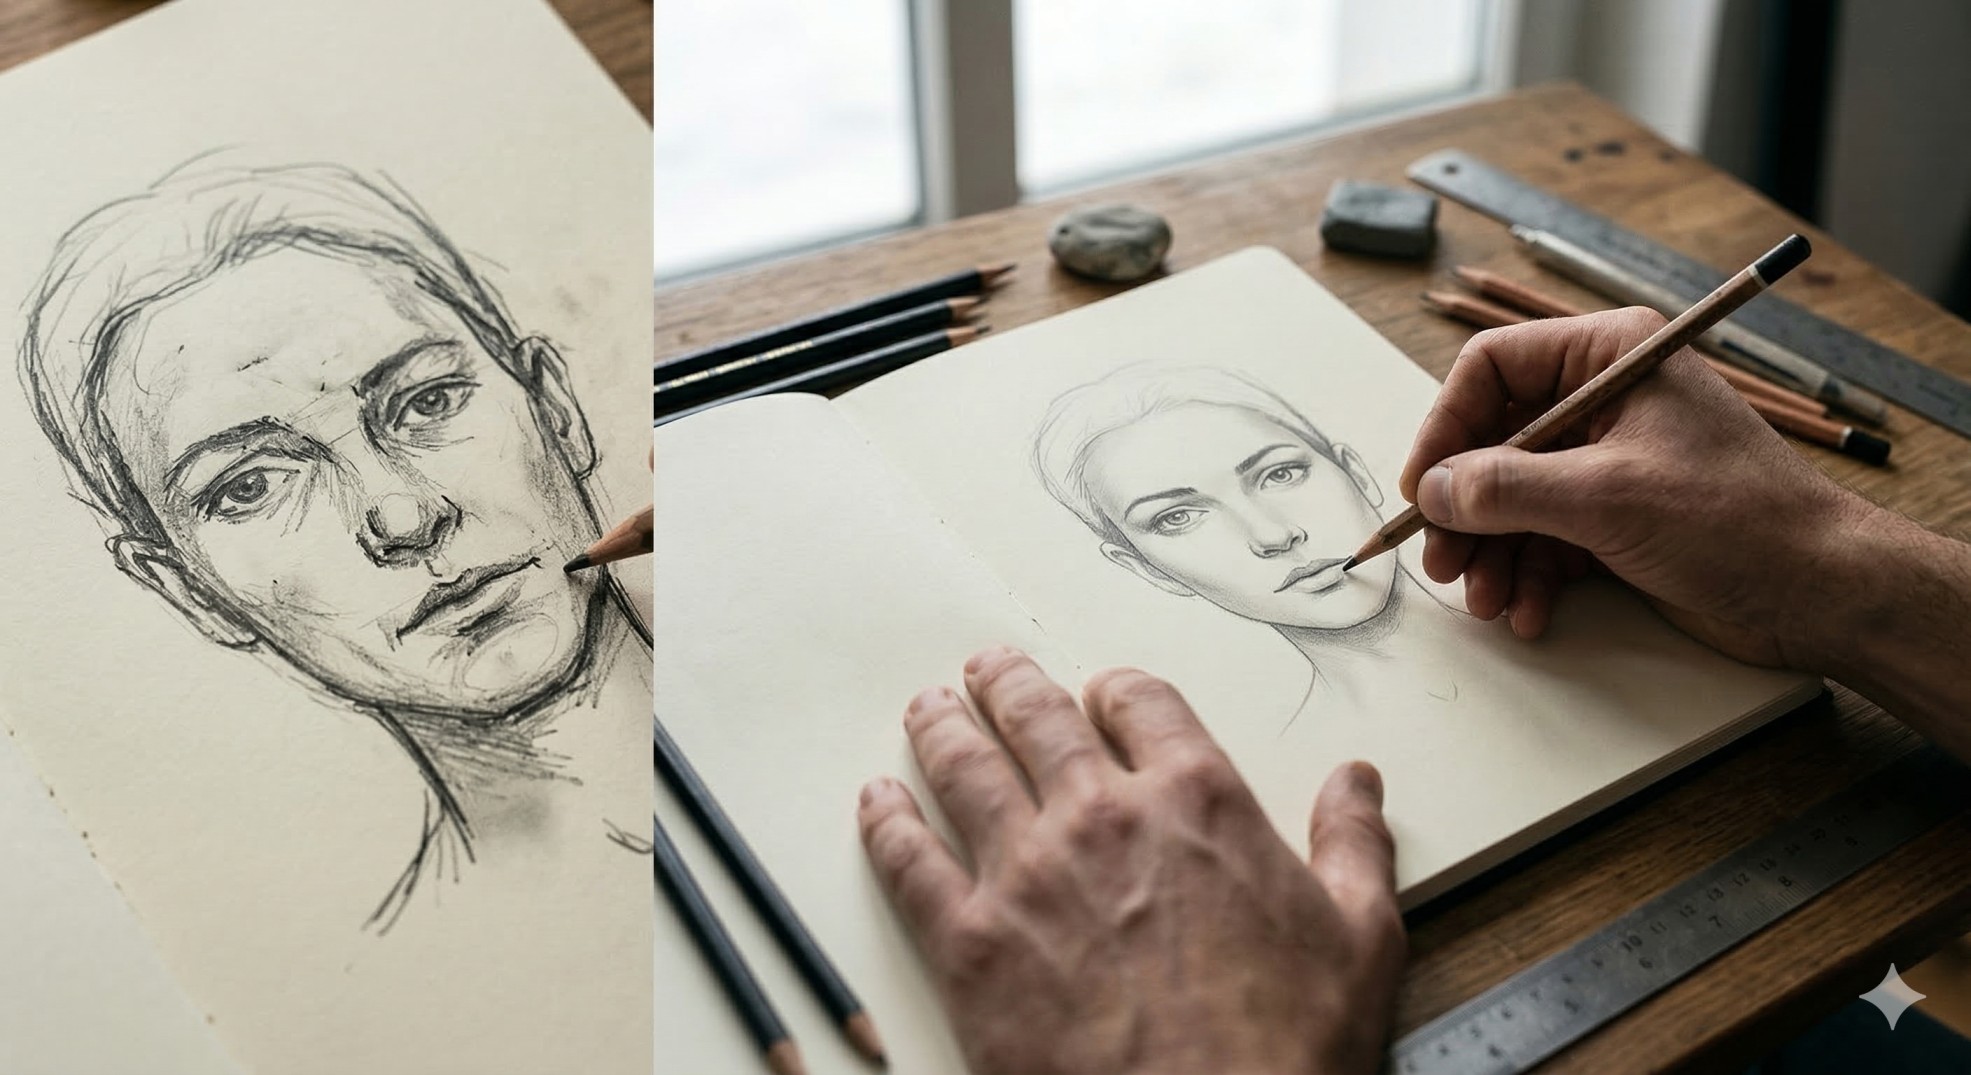
Drawing a human face is one of the most exciting skills for beginner artists. Many students want to learn portrait drawing but often feel it is difficult. The truth is that face drawing becomes much easier when you follow a step-by-step method used by professional artists.
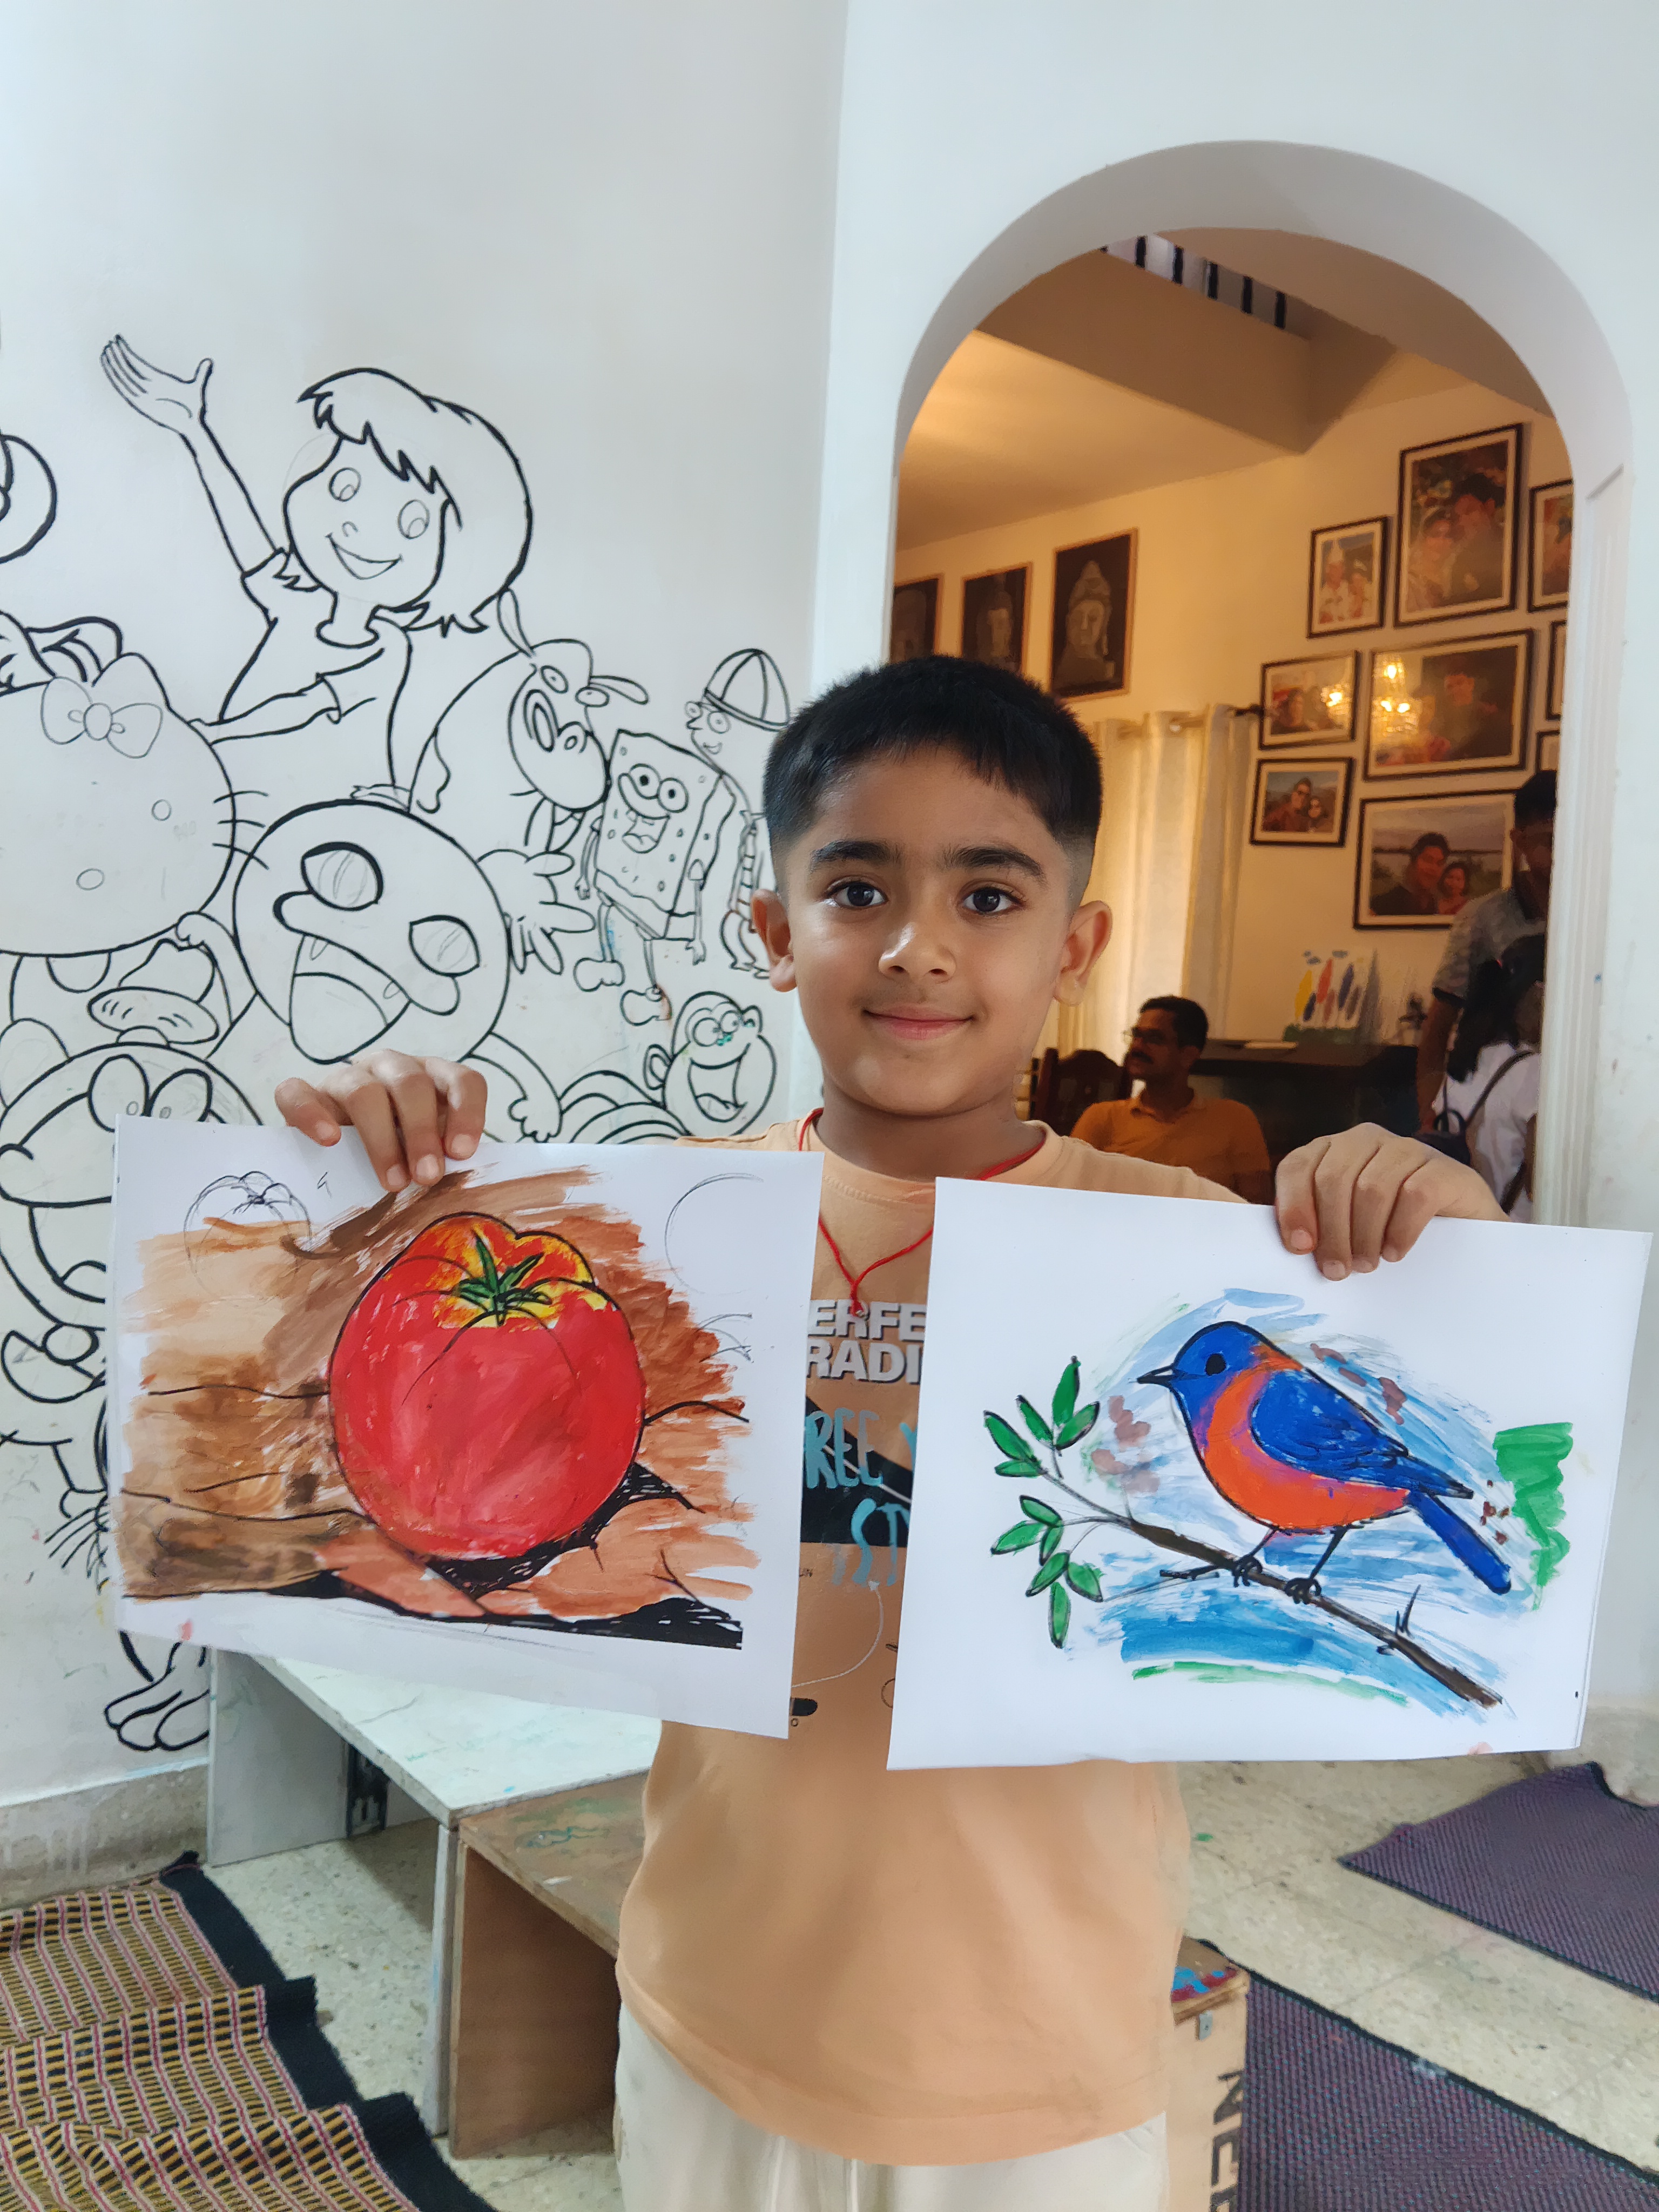
At Ankona School of Art, students learn structured techniques that help them understand proportions, shapes, and shading while drawing faces. Our training system makes portrait drawing easy for beginners and helps students build confidence step by step.
If you are looking for the best online drawing class for beginners, this guide will help you understand the basic process used by artists
Every portrait begins with a simple structure. Start by drawing a circle. This circle represents the main head shape.
-Next, draw a vertical line through the center of the circle and a horizontal line across the middle. These guidelines help place facial features correctly.
-Professional artists always begin with guidelines before adding details.
-Understanding proportions is the key to drawing realistic faces.-
-Use these simple rules:
-Eyes are placed on the middle horizontal line
-The bottom of the nose sits halfway between the eyes and chin
-The mouth is placed between the nose and chin
-Ears align roughly between the eyes and nose
-These guidelines help beginners maintain correct facial balance.
Eyes are one of the most expressive parts of a face. Start by drawing two almond shapes along the horizontal guideline.
Remember:Leave space equal to one eye width between the two eyes
-Add eyelids and pupils for realism
-Keep lines light at this stage
-Observation and patience help improve eye drawing.
Next, draw the nose using simple shapes. Avoid heavy lines — noses are mostly defined by shading rather than outlines.
For lips:
-Start with a soft curve for the upper lip
-Add a slightly fuller shape for the lower lip
-Keep proportions balanced with the nose
-Now refine the jawline, chin, and hair.
-Hair should not be drawn strand by strand initially. Instead:
-Block large hair shapes
-Add texture later with light strokes
-This method makes hair drawing much easier.
-Shading gives the face depth and realism.
-Look at where light falls on the face and shade areas like:
under the nose
-under the lower lip
-ēye sockets
-jawline
-Soft shading helps create a three-dimensional effect.
-At Ankona School of Art, students follow a professional step-by-step system designed for beginners and advanced learners.
-Our programs include:
-structured drawing lessons
-online art classes for kids and beginners
-personalized guidance from experienced instructors
-practice techniques used by professional artists
If you are searching for the best online class for drawing and portrait sketching, Ankona School of Art offers practical training that helps students improve faster.
-Learning how to draw a face step by step becomes easier when you understand structure and proportions. With regular practice and proper guidance, beginners can quickly develop strong portrait drawing skills.
-Start practicing today and explore your creativity with Ankona School of Art – one of the best online drawing classes for beginners and aspiring artists.
At Ankona School of Art, we provide:
Live Online Art Classes
Step-by-Step Drawing Training
Digital Art & Animation Learning
Personalized Mentorship for Students
https://docs.google.com/forms/d/1wMxiB9J68iqInDYvIhlapMrZAnDJgwgYBxJvnldmEp8/viewform
🎨 Online & Offline Classes Available
👨🏫 Expert Mentorship
📈 Beginner to Advanced Learning Path
https://wa.me/9 18861505200?text=Hello%20Ankona%20School%20of%20Art,%20I%20want%20to%20know%20more%20about%20your%20art%20courses.
https://www.ankona.in