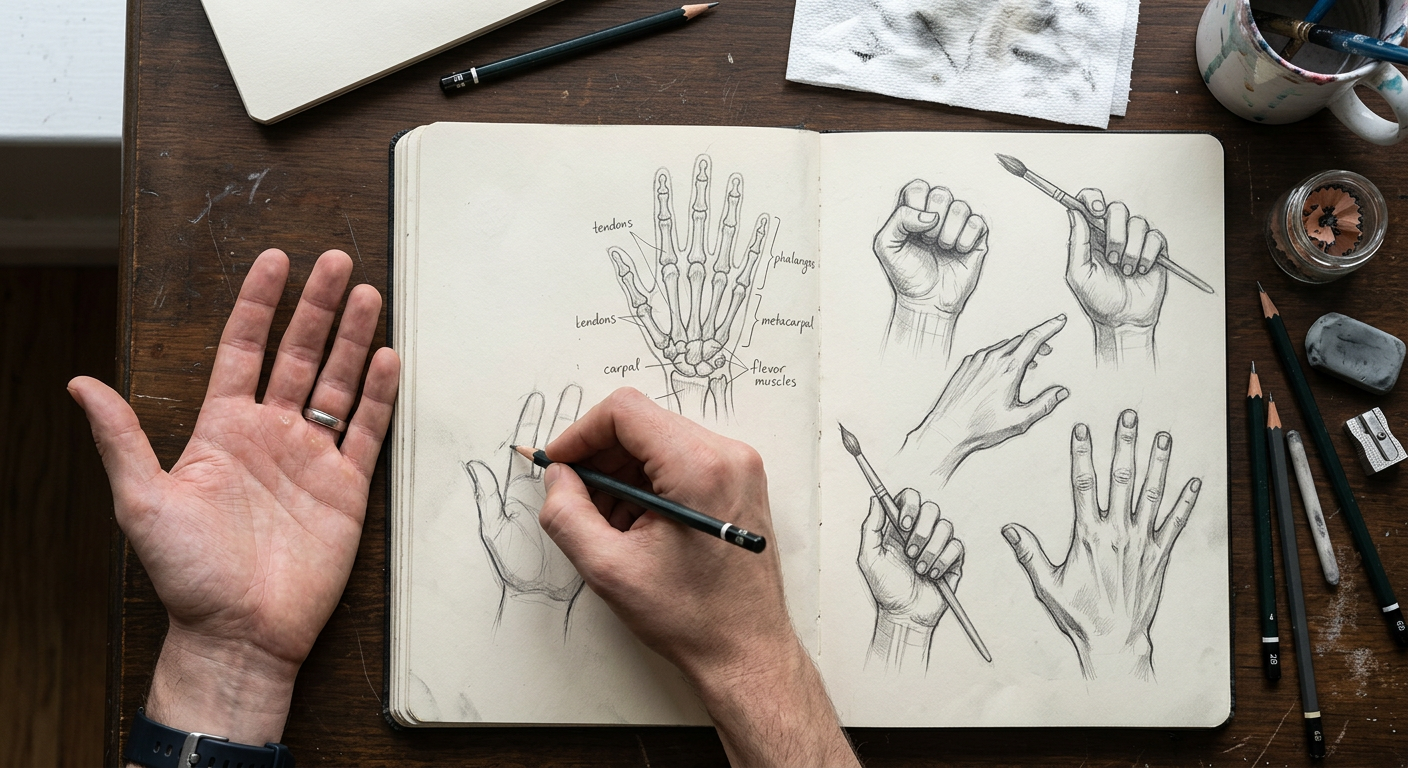
Drawing hands is often considered one of the most challenging parts of figure drawing. Many beginners avoid drawing hands because they seem complex and difficult to understand. However, once you learn the basic structure and proportions, drawing hands becomes much easier.
At Ankona School of Art, students learn simplified anatomy techniques that help break complex forms into easy steps. If you are searching for the best online class for learning drawing and anatomy, understanding how to draw hands correctly is an important step in developing strong figure drawing skills
Understand the Basic Structure of the Hand
Before focusing on details, beginners should understand the basic shape of the hand.
Think of the hand as:
-a palm block (rectangular shape)
-Four fingers that extend from the top
-a thumb attached at an angle
This simple structure helps artists build the foundation of the hand before adding details.
Step 1: Draw the Palm Shape
Start with a rectangular or square shape to represent the palm. This acts as the base of the hand.
Keep the lines light because adjustments may be needed later.
Step 2: Add Finger Guidelines
Next, draw simple lines to represent finger positions. Fingers are not identical in length.
Typical proportions:
-The middle finger is the longest
-The index and ring fingers are slightly shorter
-The little finger is the shortest
This step helps maintain correct proportions.
Step 3: Sketch Finger Shapes
Now turn the guidelines into finger shapes. Each finger can be simplified into three small sections.
Avoid drawing fingers as straight sticks — they have natural curves and joints.
Step 4: Add the Thumb
The thumb sits at an angle on the side of the palm. Draw a short triangular shape connecting to the palm, then extend the thumb outward.
Understanding the thumb angle helps make the hand look more natural.
Step 5: Refine Details and Add Shading
Finally, refine the finger shapes and add details such as nails, joints, and soft shading.
Observe where shadows fall around the fingers and palm to create depth.
Learn Figure Drawing at Ankona School of Art
At Ankona School of Art, students learn anatomy, figure drawing, and sketching techniques through structured training programs.
Our classes focus on:
-step-by-step drawing methods
-understanding anatomy and proportions
-shading and realism techniques
-personalized guidance from experienced teachers
If you are looking for the best online class for learning drawing and anatomy fundamentals, Ankona School of Art provides professional guidance for beginners and aspiring artists.
Final Thoughts
Drawing hands may seem difficult at first, but with practice and a clear understanding of structure, beginners can improve quickly.
Start practicing today and build your artistic skills with Ankona School of Art – one of the best online drawing classes for beginners and creative learners.